As a professional party designer for 30 years I have dreamed up and executed hundreds of themed centerpieces and party settings. Now retired, I often get asked for advice and help by friends and relatives who want to make their birthday party, bridal shower, baby shower, wedding, etc. something special but have no idea where to begin. They usually end the request with the fact that they don’t have a whole lot of money to spend.
The media and design gurus of today constantly tell people that they do not need to pay a professional to design their parties, that they can do the work themselves at home. While this is in many cases true and in many cases provides wonderful results, in many more cases people end up with exactly what was promised– homemade-looking centerpieces and decorations. My goal for PartyPlotz is to provide people with the ideas and instructions that allow them to create events that look ‘as if’ a professional designer were involved.
I often tell people that nothing I do is difficult. I envy people who can draw, paint, and sculpt. I can do none of these. My true talent is the ability to look at something and figure out how to make it (or something that looks convincingly like it) and usually out of stuff that is lying around my studio or available at the local dollar store. If you can use a scissors, a paintbrush and a wire cutter, I can teach you to do what I do.
The one thing I want to mention in closing is TIME. People often wonder why hand-made items are so expensive when the materials they are made of are so inexpensive; for example, a beautiful sculpture may be made out of nothing but paper and glue. Artists, like everyone else, are paid for the materials used in their product, their talent and their time. Making one centerpiece is going to involve some time. Making it look great is going to involve more time. Making the next 10 centerpieces is going to involve 10x more time or a lot of willing friends. If you don’t have one or the other, you might want to think about hiring someone.
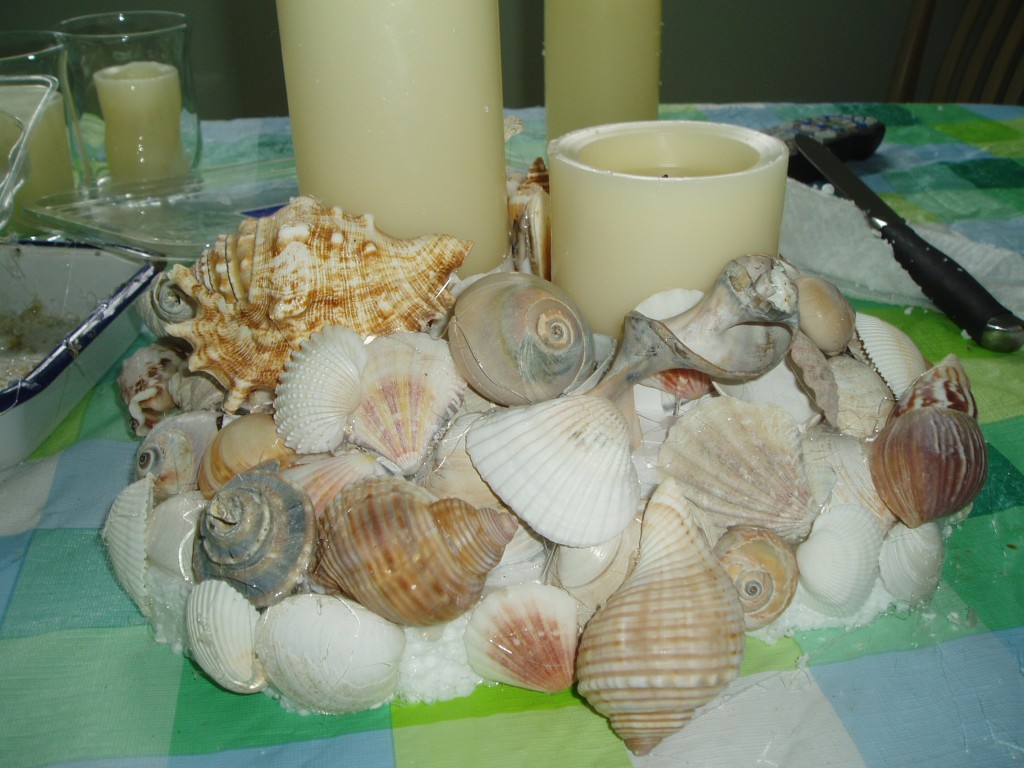
As I progress with this new blog, I will be posting ideas for specific projects and tips on making your event a success. Right now, I would like to leave you with some pictures from my portfolio. Please enjoy and let me know what you think!

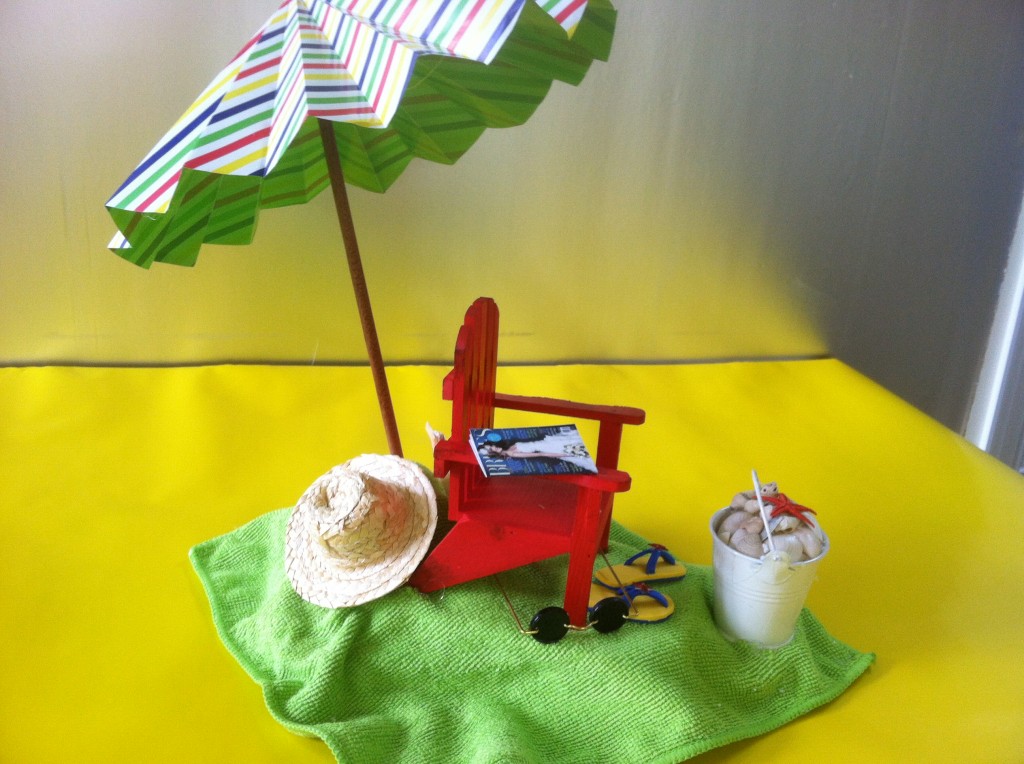
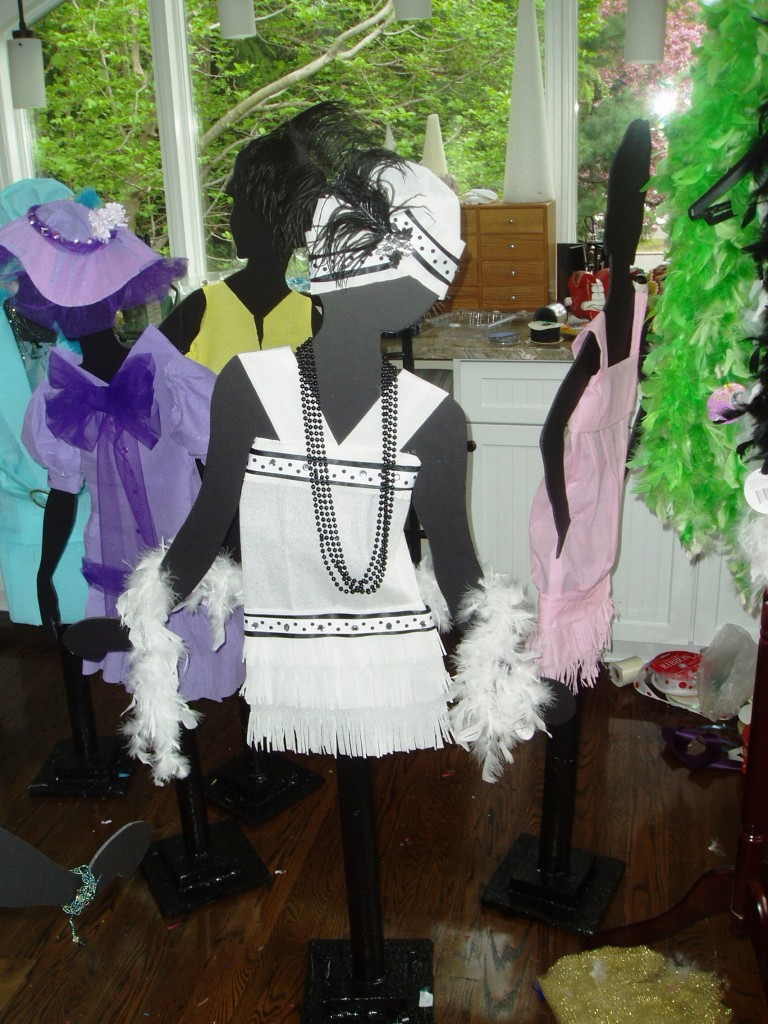
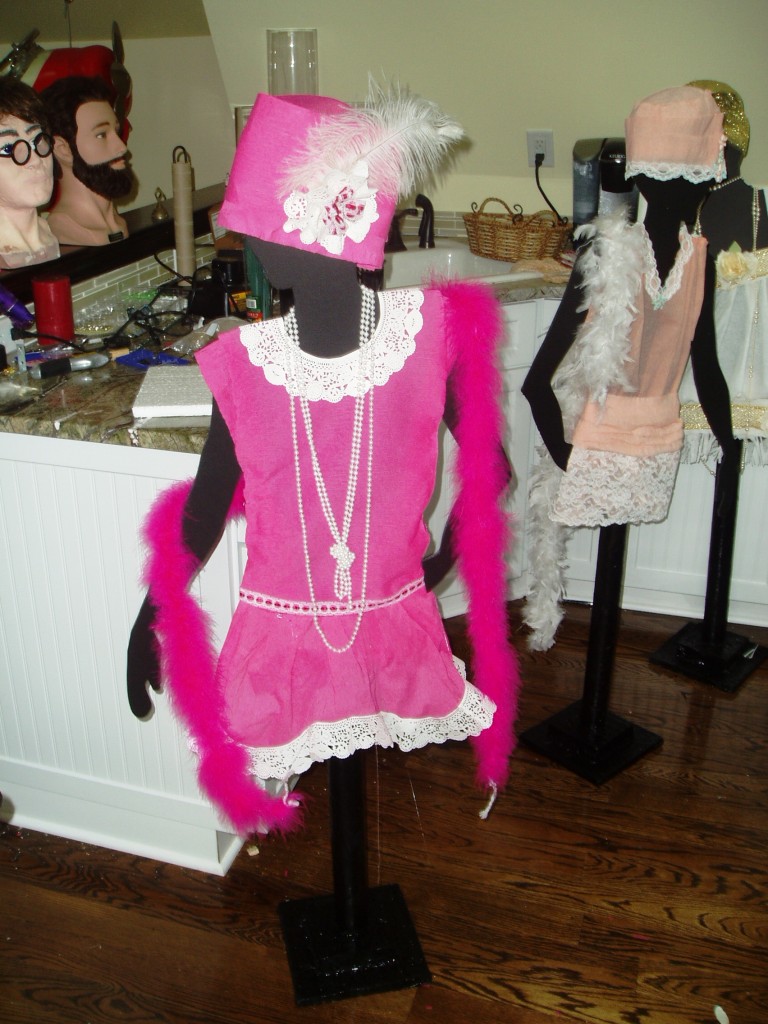
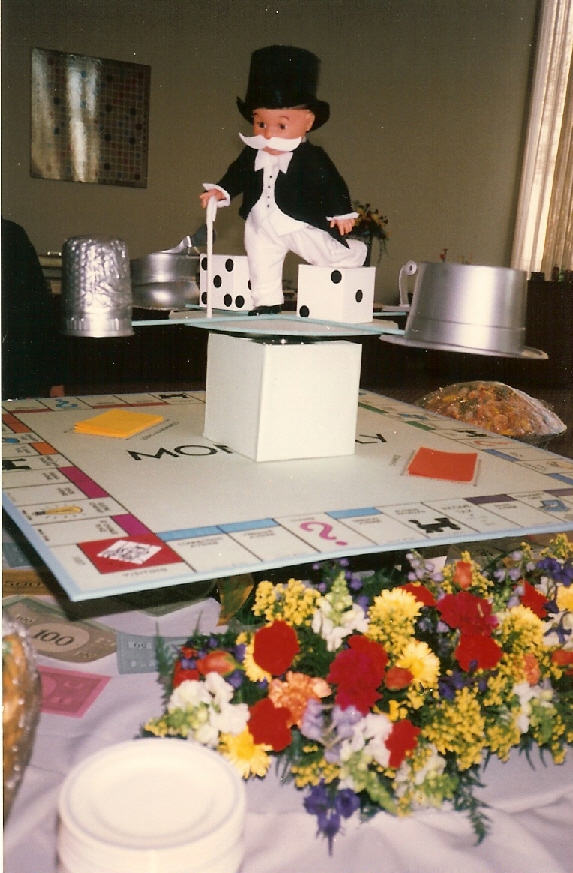
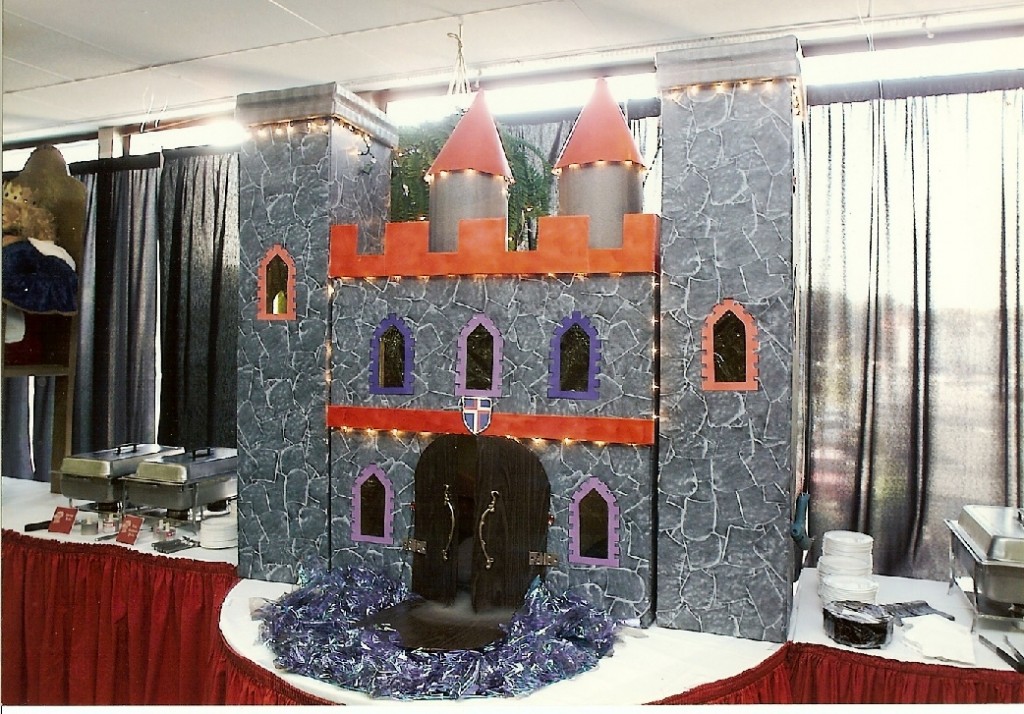
OMG!!! They are all soooo awesome! I wish I was that talented. I am giving my daughter a baby shower and have decided to have it at home so I can spend more on decorations. She loves fairy tales and the medieval era. I would so greatly appreciate any advice and instructions for the castle centerpiece.
Hi Pam!
That castle is quite large, it is sitting on a 6 ft. round table. It is made from large cardboard boxes and cardboard tubes (sold as cement forms at places like Home Depot). After I chose the cardboard pieces I covered them with wallpaper that looked like a stone wall. The trim and cones are formed from poster board and the whole thing is trimmed with Christmas lights. I cut out the windows and covered them in colored cellophane and put a battery operated light inside. The door handles are kitchen cabinet handles.
I have made smaller versions for centerpieces from things such as oatmeal containers, paper towel tubes and long thin boxes from aluminum foil and parchment paper. They can be covered with colored gift wrap or spray painted although you would have to use a primer first so all the elements took on the same color. I hope that helps. If you need more info, feel free to email.
Elizabeth
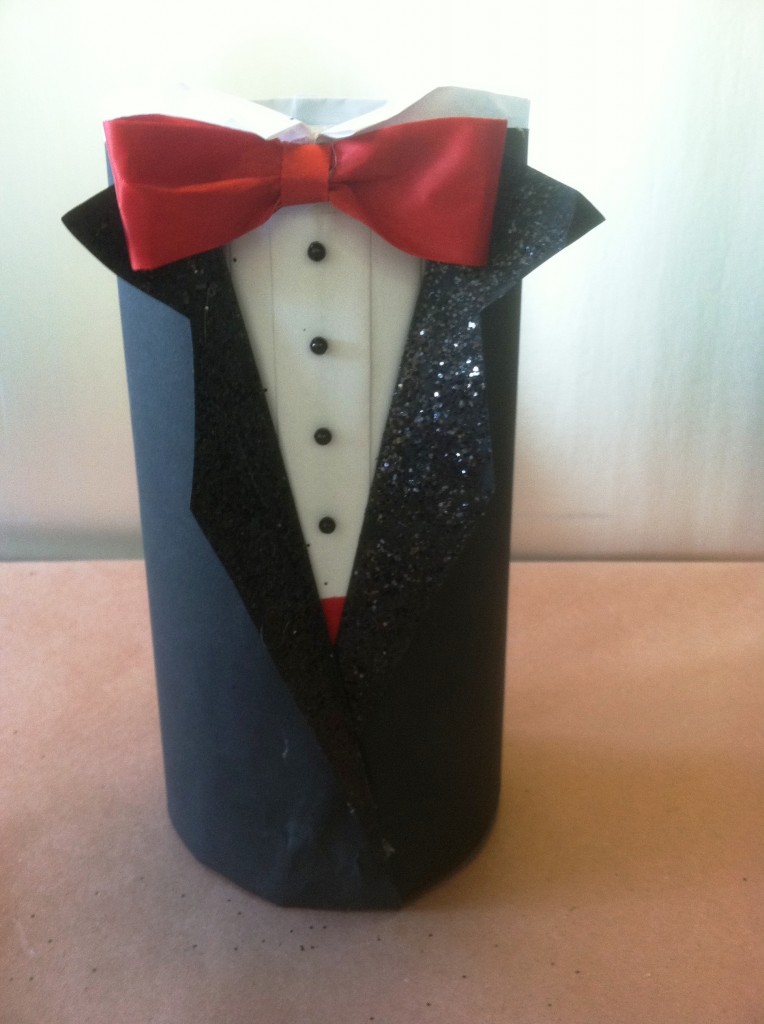
I helping to decorate for a prom party in which the theme is Tuxedo and the tuxedo centerpiece is great can you send instructions on how I can make this it would be greatly appreciated. Thanks
Yolanda–I will email directions in a few days.
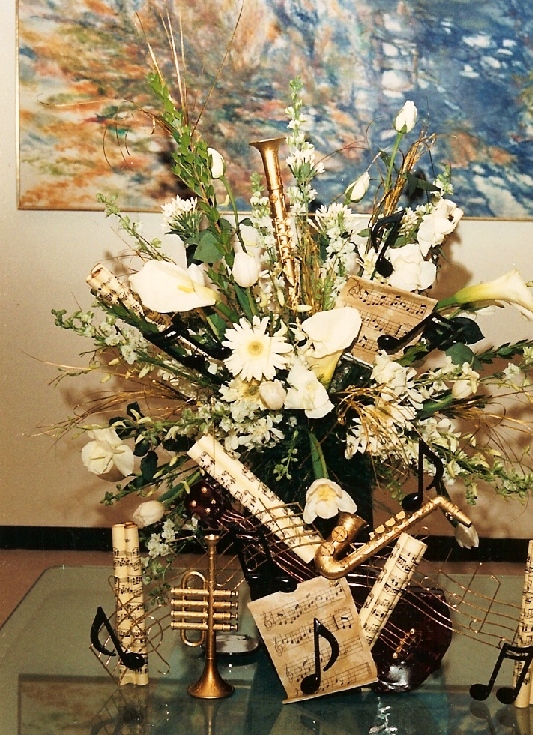
Beautiful centerpieces. We are getting ready for our school band banquet. Would you please send me any information on the Lobby Music theme arrangement. Thanks Band Mom.
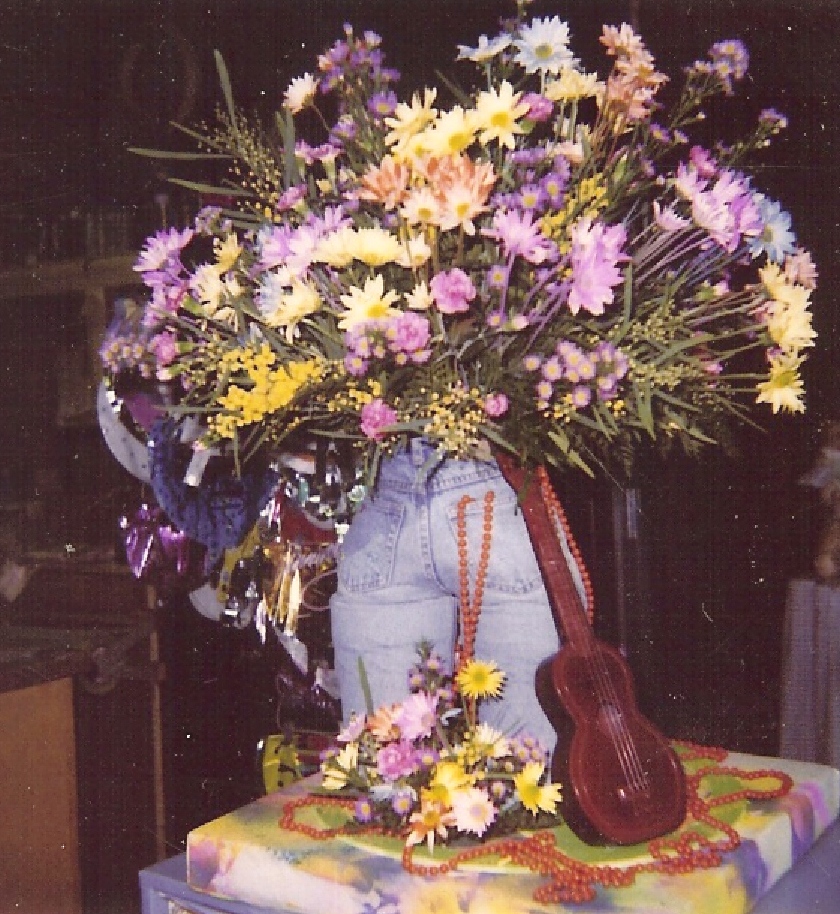
The piece in front of the floral arrangement is a freestanding ‘sculpture'(which I was told was later donated to a church and sits on its organ). I started with metal musical scales I found in a dollar store and glued on the notes, sheet music and instruments. I made this a long time ago for a corporate event so I don’t know if you will be able to find something similar. The instruments are just inexpensive plastic toys sprayed gold. The notes can be bought in a party store but you can probably cut them out of card stock. The music can be cut out of a sheet music book and “aged” if necessary or downloaded from the internet. I just glued it all together with a hot glue gun making sure it would stand as I went along. I attached some of the same element to long sticks and put them into the large floral arrangement.
I hope that helps. As I said, I made this a long time ago when I still owned my flower shop and at that time did not take ‘step by step’ pictures of everything I made. If there is anything else I can tell you about it though, please feel free to email me.
I am throwing a suit and tie themed party and your tuxedo design is just what I’ve been looking for. I too would greatly appreciate the instructions for that piece. Thank you in advance.
Hi Shannon-
Sorry it took a while but I have emailed you some directions for the tuxedo centerpieces.
Will you send me instructions for the tuxedo centerpieces?
I do not have formal instructions for it, but I will forward you some quick instructions and photos I wrote up for someone else.
Good Evening, I would like to find out how you made the musical instruments for the Lobby Arrangement for Music Themed Dinner. Any help will be greatly appreciated. Best Regards, Susie
I would like to get info on the roar 20s ladies
I’m interested in the tuxedo centerpiece for an upcoming event. Can you please provide specific details to complete this centerpiece? Thanks
I would love instructions on the tuxedo centerpiece, it would be great for prom 🙂
Can I get instructions on how to make the tux centerpiece? Please and thank you 🙂
I would love instructions for the music centerpiece. Gorgeous!
i am interested in getting or making the tuxedo centerpiece
Barbara–sorry it took so long to get back to you. I will send you some more pictures and instructions in an email, hopefully not too late fro what you need. If you try it, please send me a picture. Thanks, Elzabeth
I am also interested in the tuxedo centerpiece! Can you please email me the instructions also? Thanks a lot!!
I would love to know how to make the tuxedo centerpiece
I was interested in getting instructions for the tuxedo centerpiece if possible. By the way you are very creative.
how do i get instructions for the castle?
The castle is just a series of cardboard boxes stuck together. The castle in the picture is about 6’x 6′ but you can make it any size you like. If you cannot get the tall thin boxes I used for the sides (they are the boxes flowers come in, you can ask a florist or a supermarket for them) you can substitute the large tubes they sell in Home Depot or other such stores which are used as cement forms. The large box was from a furniture/appliance store. I cut the windows out with an exacto knife and backed them with dark cellophane and trimmed them with poster board. The entire castle is covered in wallpaper that looks like stone but you could use whatever pattern or paper you like. It’s easier to cover the individual boxes and then put it together. The door handles are kitchen cabinet handles I had lying around. If you are going to make it this large and need to transport it, I suggest you make it in pieces and put it together with heavy duty Velcro. The ‘water’ in the mote is scrunched up cellophane glued to cardboard. I put lights in side the boxes (cut a door in the back for access to light them) so I could light it up. I have done smaller versions of this for centerpieces using oatmeal boxes, paper towel tubes, aluminum foils boxes etc. I hope this helps.
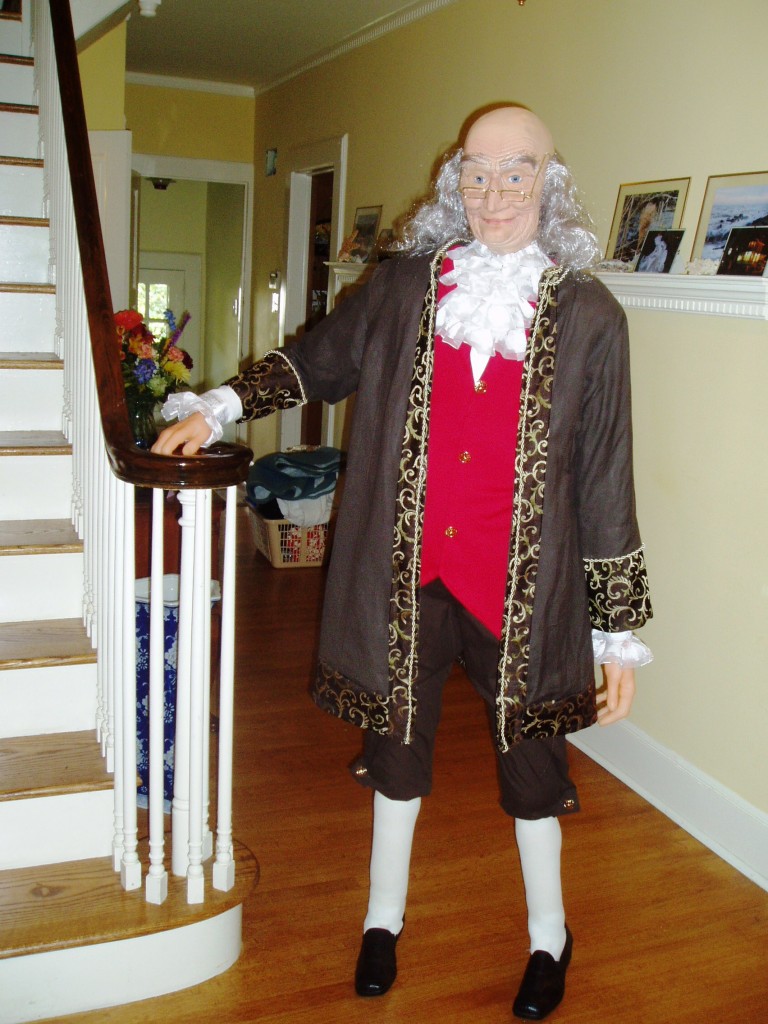
Love them all, but particularly the flapper girl, the stuffed jeans, Monopoly game,Ben Franklin, the medieval pieces . . . OK,I guess I said it, love them all. Want to see the Volkswagen bus.
Your how-to instructions are very good. Makes me think I could even do some of this!
Nice blog. I’ll be sure to recommend it to everyone down in Bradley Beach, home of the BradleyBeachBlog.com!
These are some really nice centerpieces. Where did you get these ideas from?