The Ultimate Harry Potter Halloween Party


MDH_0411

Lifelike figure of Harry greeted guests as they arrived at the party.

MDH_0405

Hagrid stood nearby with his pet unicorn.

The Hogwarts Express (fashioned from a cardboard cement form) stood nearby.

The Hogwart Express (fashioned from a cardboard cement form) was ready to go as a tardy passenger entered through the wall.

Gargoyles made from bleach bottles and dollar store masks and wings, guarded the castle entrance

Gargoyles made from bleach bottles and dollar store masks and wings, guarded the castle entrance

MDH_0419 
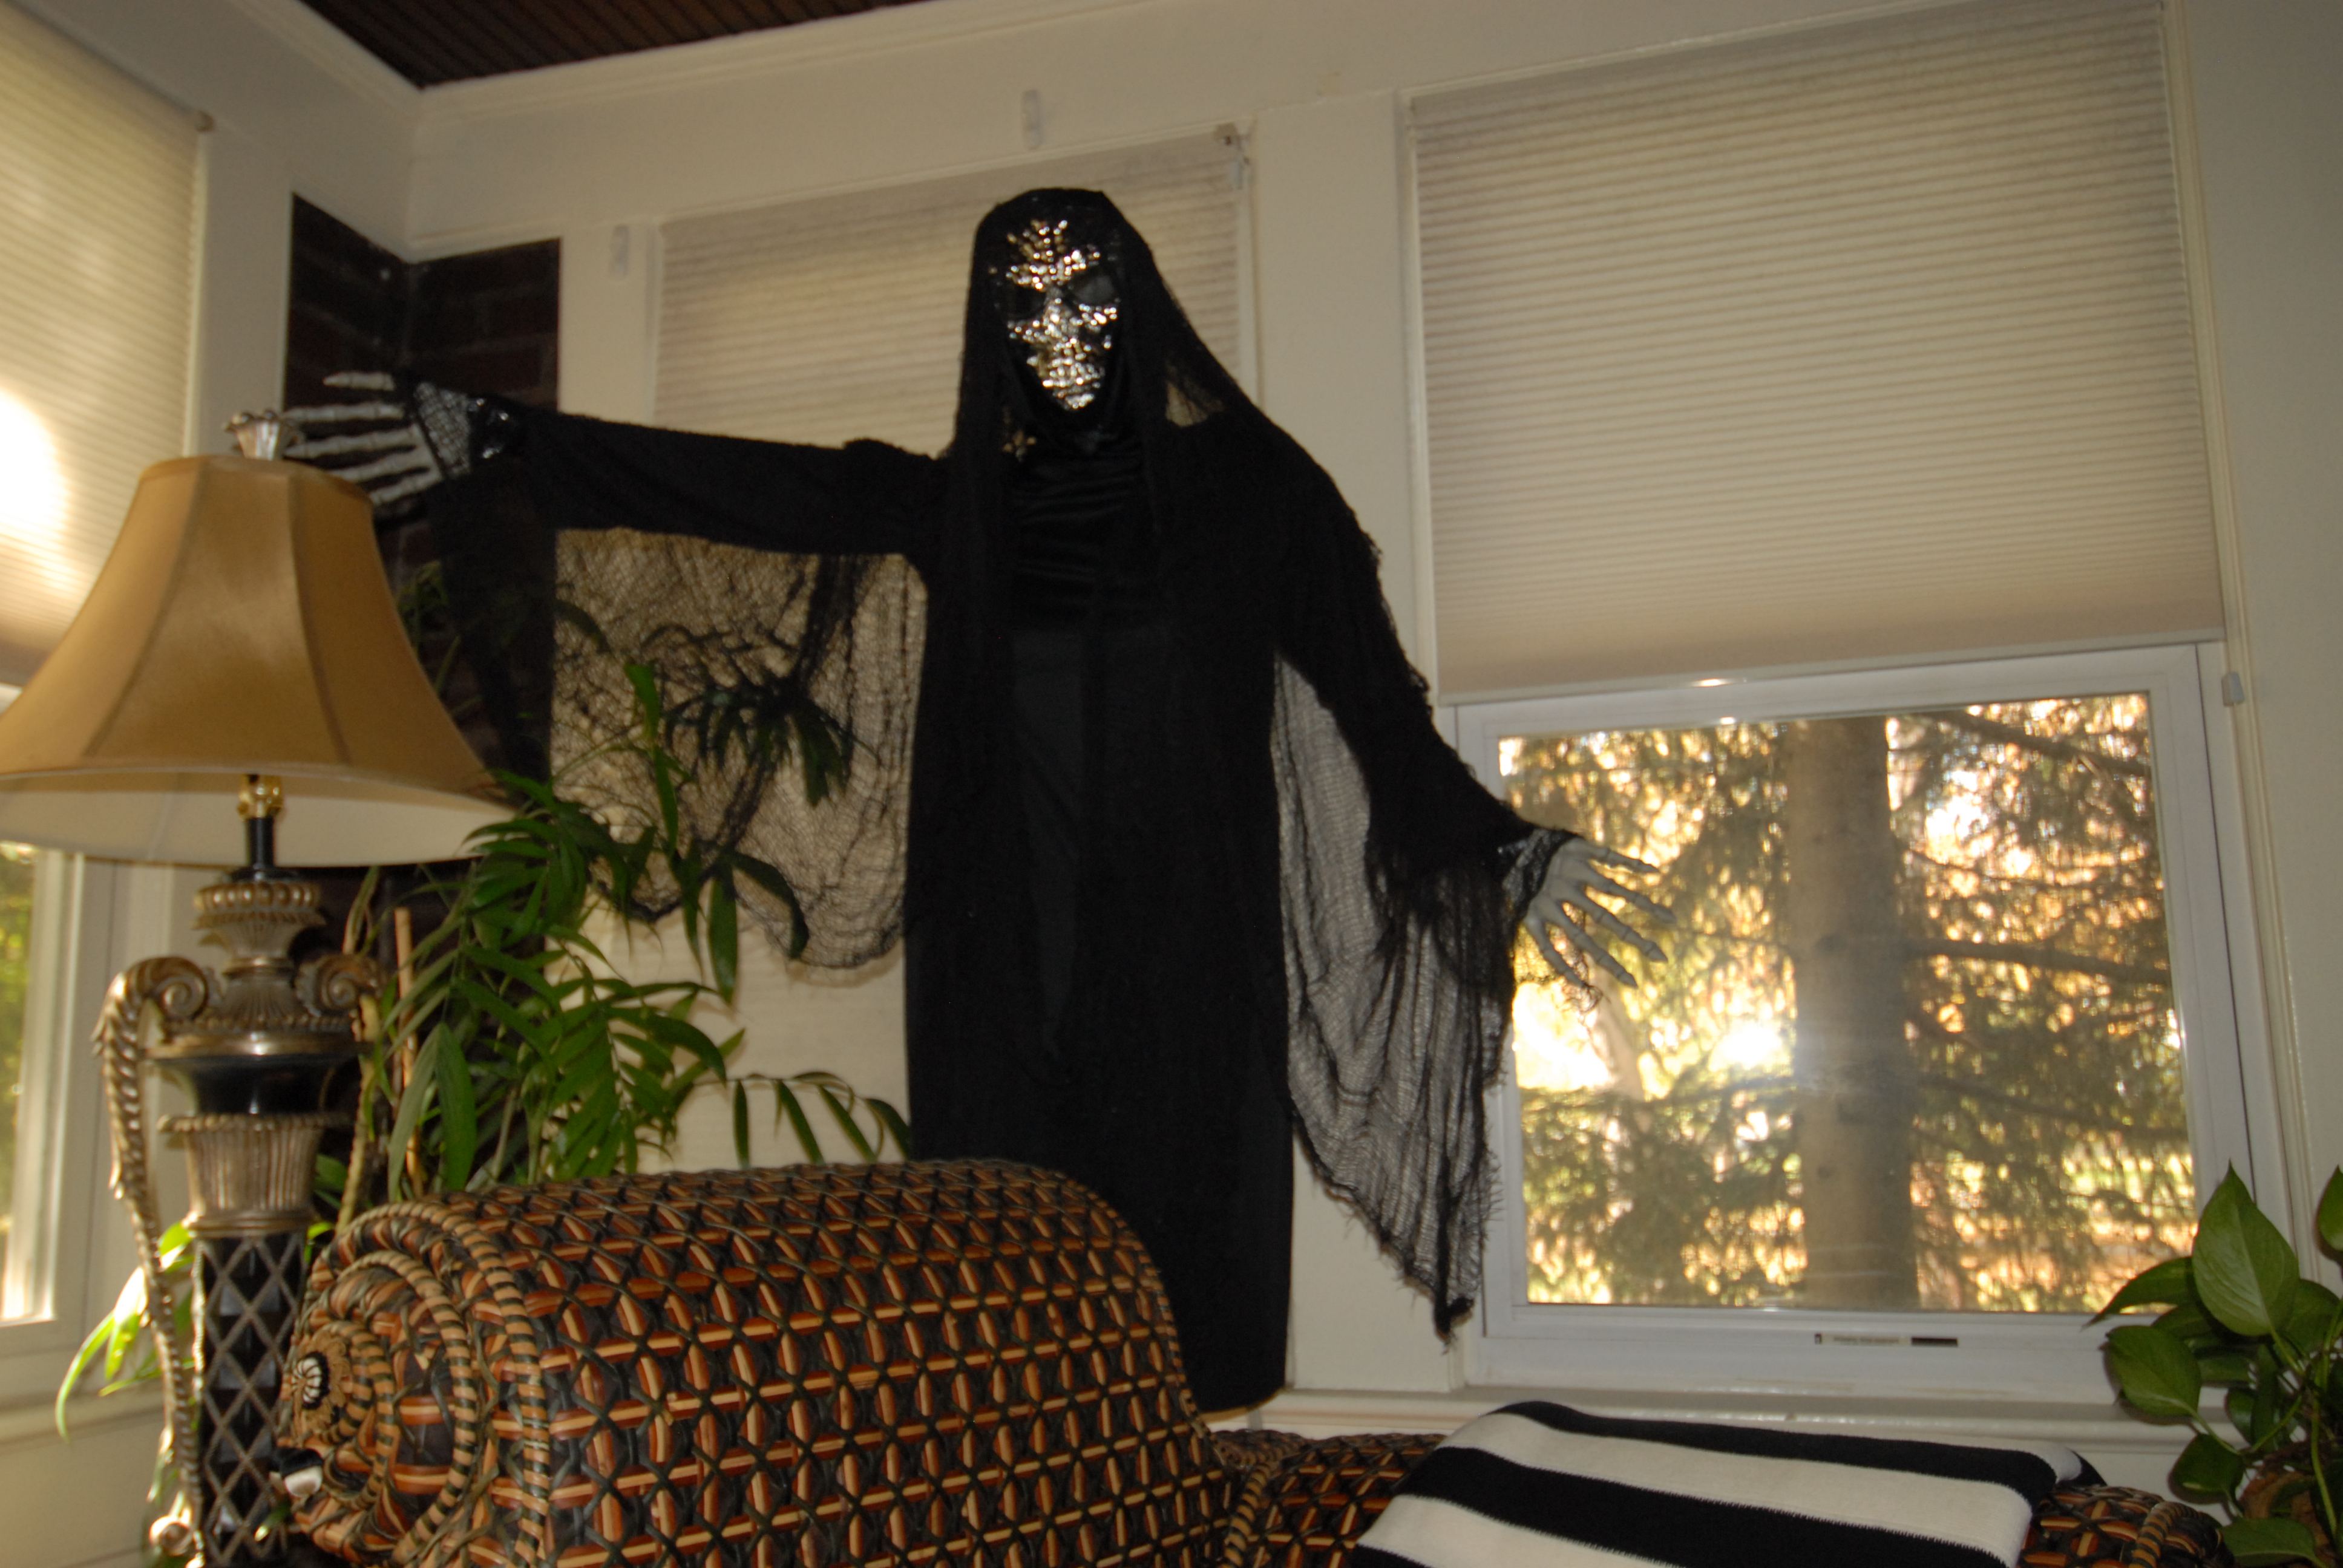
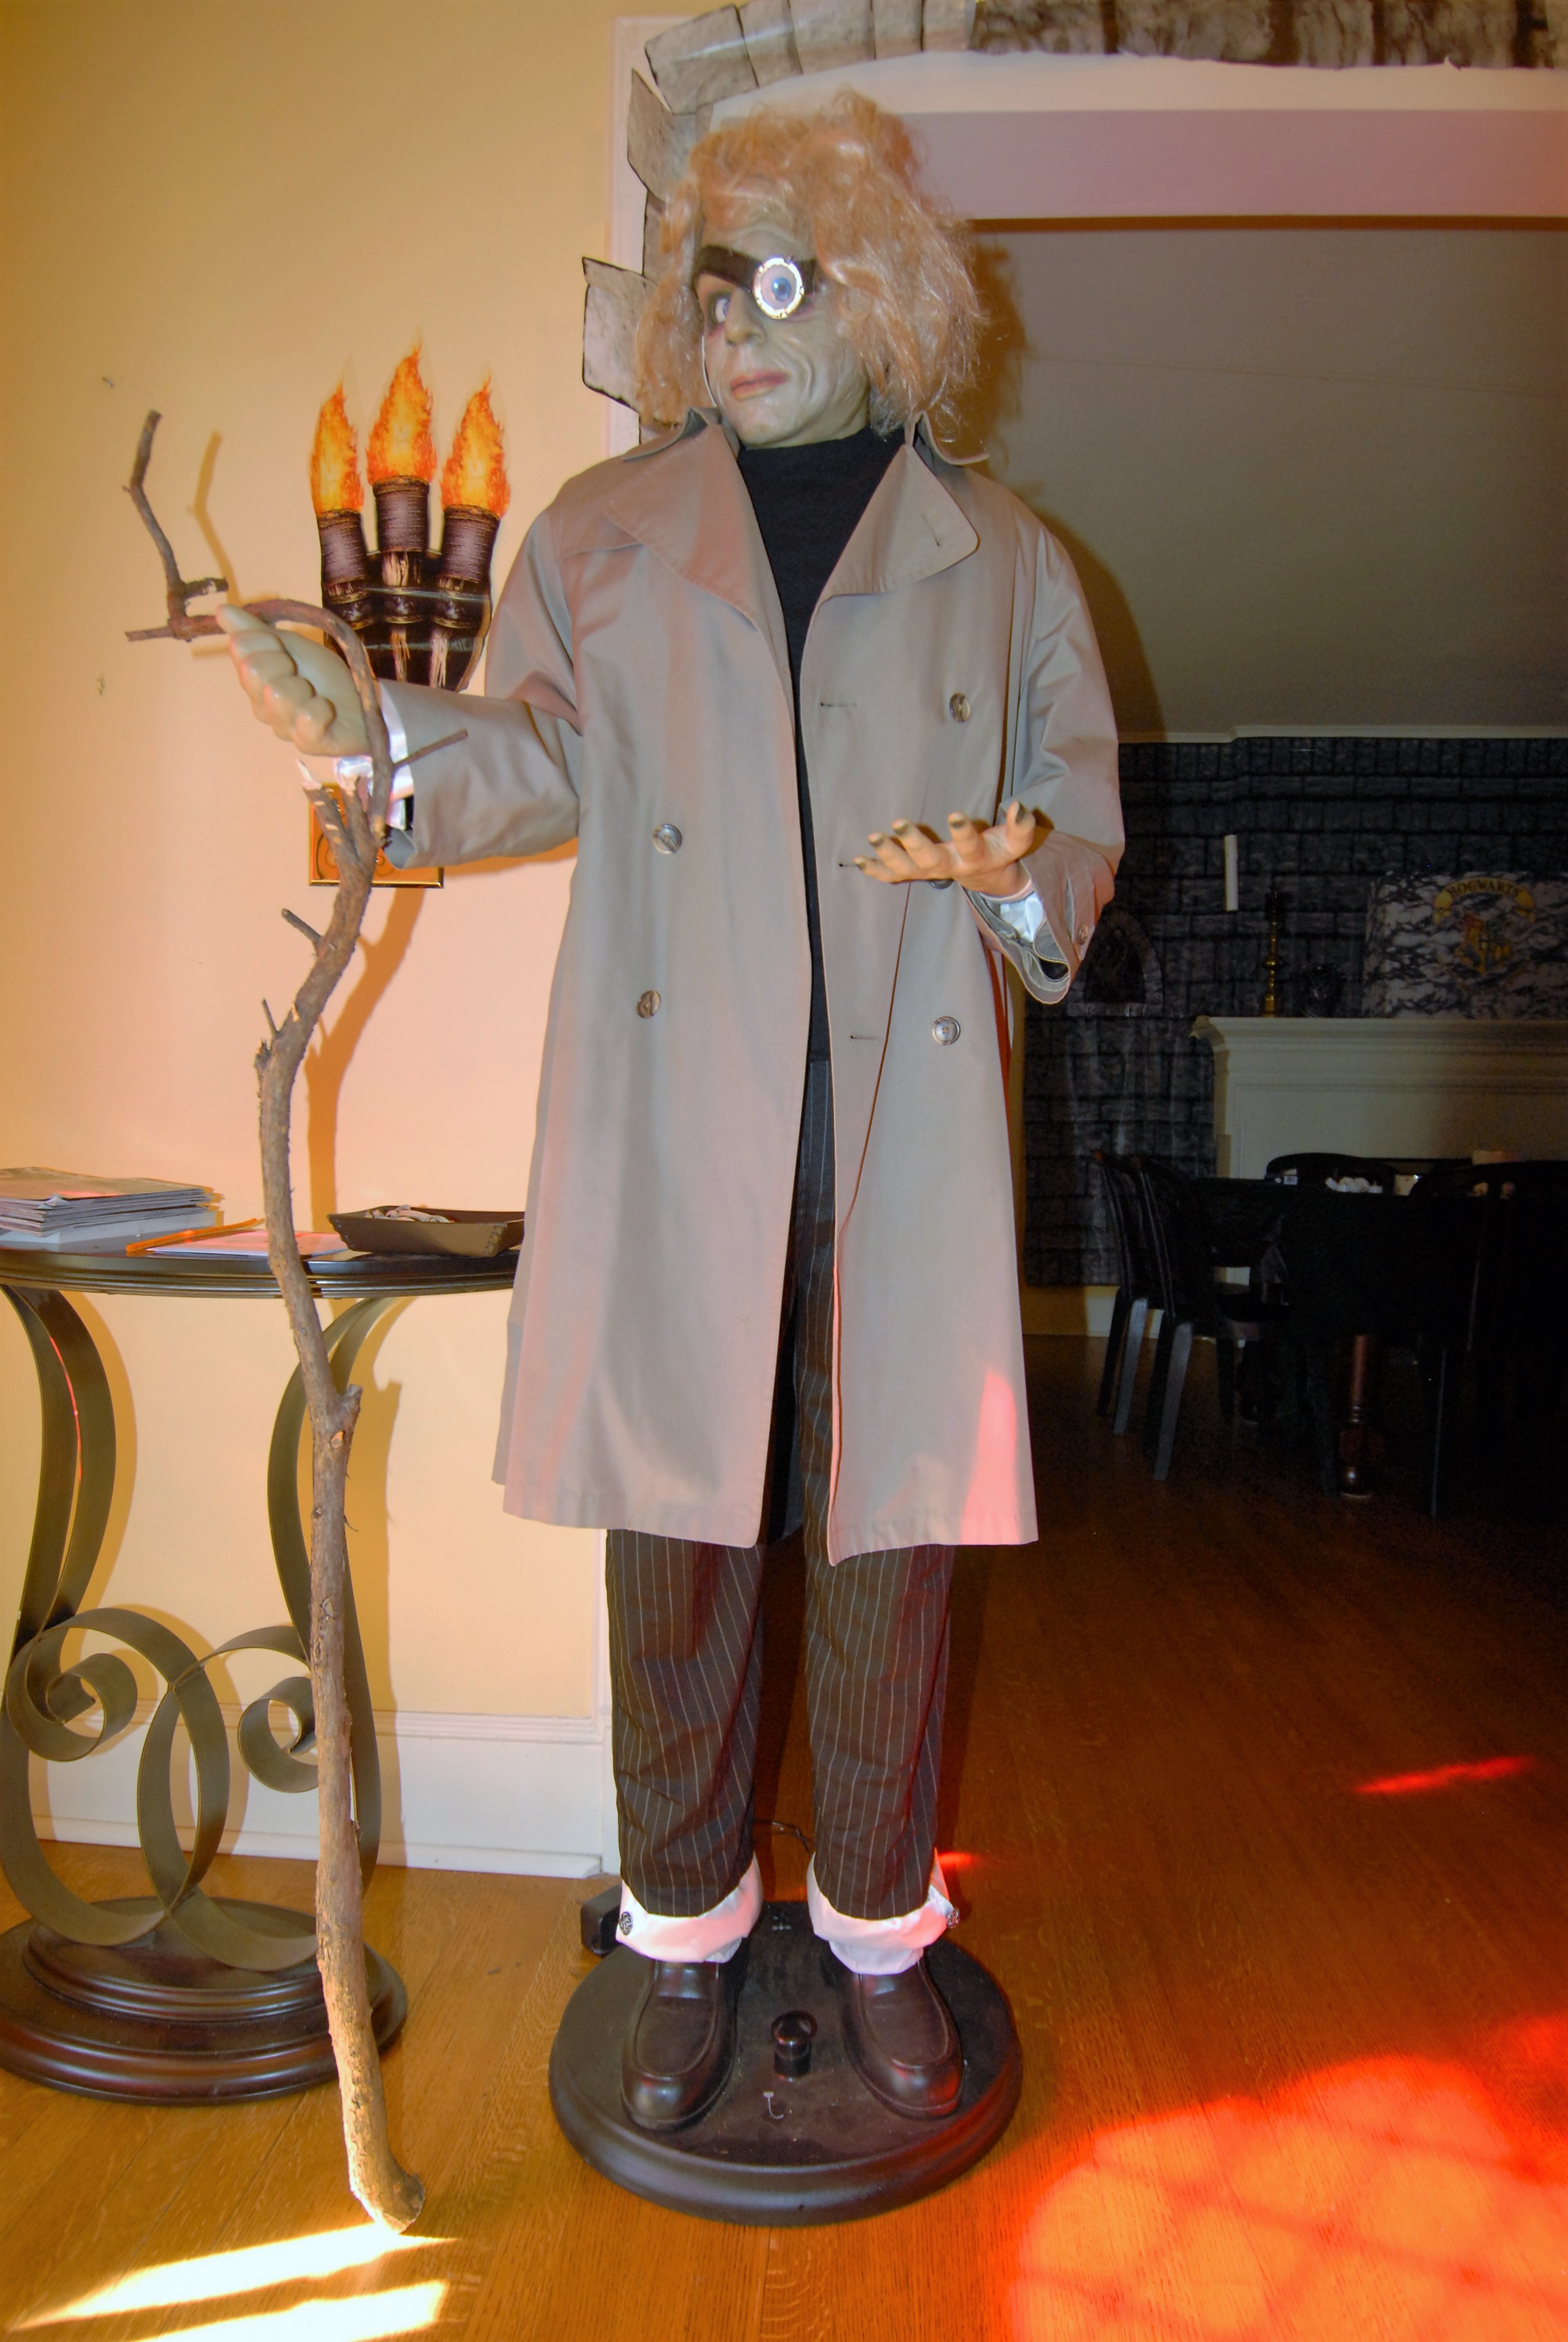
Once inside, Mad Eye Moody (a mechanical prop which gets dressed up every year) was found wandering the halls.


Welcome to Diagon Alley

Welcome to Diagon Alley

Headless Nick came to the party

Headless Nick came to the party

Dumbledore

A peek into Dumbledore’s office

Owl

Mail delivery in the Great Halls

Great Hall

Waiting for dinner to be served

Moaning Myrtle

Myrtle in her usual hiding place

Dobby

Dobby popped up

Death eater

Not all guests were friendly


GRADUATION CENTERPIECE

Grad centerpiece from Oatmeal boxA Unique and Personalized Table Topper

With a computer printer, a recycled oatmeal box and odds and ends of materials you probably already have around, you can make graduation centerpieces that are easy and quick but  extrememely personalized and unique.

ant grad materials for party plotz
Pieces Needed for Grad Centerpiece

For each centerpiece you will need:

A head shot of your grad, preferably sans cap

2 or 3 pieces of 9″ x 12″ construction paper or card stock in the color of your grad’s cap and gown

An empty large (9 1/2″ tall) oatmeal box

2 chenille stems for tassel

Scrap of cardboard

Directions:

Enlarge and a crop the picture of your graduate  so that the head is approximately 7 inches from crown to chin.  Include a few inches of collar and gown so that the overall height of the picture is about  8”.  Be careful to keep the same ratio of height to width as the original so the image does not look distorted.

Print 2 copies of the picture centered on 8 ½”x11” copy paper in landscape position.

Trim 1 ½” off each side of one of the copies

Fold construction paper in half and cut 2 strip 2 ½ “ high that come down to a ½ “ point at the fold (see picture).  Leave one strip its full length and cut 2 inches off each end of the other.

From the other piece of colored paper, cut an 8” square and a circle approximately 3” in diameter.  Cut a 2 ½” circle from a scrap piece of cardboard.

Mark the center of each picture and the two midpoints of the circumference of the oatmeal box opening. (Easily done by cutting a string the length of the box’s circumference and folding it in half.)

Center and glue the longer picture and then the cap strip to one side of the oatmeal box, lining up the picture bottom to the box bottom and the top of the strip to the top of the box.   Repeat on the other side with the shorter picture and strip.  The seams should end up on the sides of the box.

Replace  cover on oatmeal box. (If the centerpiece is to be used outdoors, first put sand or rocks inside the box for weight.)  Center and secure the  7” square on the box top with point forward.  Cover cardboard circle with The construction paper circle and glue to center of cap.

Fold one of the chenille stems in eighths and cut open bottom folds (creating 4 pieces folded in half). Twist the center of the other chenille stem around the top of the tassel.  Glue the two ends under the cap button.

If you wish, sit the centerpiece of a square of colored paper and embellish with some sparkly shred.


Alternative Centerpiece

If you don’t have a picture of your grad or if you are not good with photo editing and printing, you can  make a version of this centerpiece that still has some personal touches.

Alternative centerpiece
Alternative Graduation Centerpiece

To make this version, cover the oatmeal box with brown craft paper (I used a recycled shopping bag). Make the cap using previous instructions. Glue on raffia or shred in the color and approximate style of your graduates hair. Fashion a nose out of a triangle of craft paper and cut a mouth out of red construction paper or draw one on with a red marker. I chose to glue on Dollar Store sunglasses (if doing the centerpiece 2 sided, you may need to cut the arms of the glasses where they meet on the side) but you can glue on google eyes from the craft store or draw eyes on. Glue a one inch strip of construction paper in the color of the cap to the bottom of the box to simulate the top of the gown.


Centerpieces and Party Props that Are Professional-looking, Inexpensive and Easy to Make

As a professional party designer for 30 years I have dreamed up and executed hundreds of themed centerpieces and party settings. Now retired, I often get asked for advice and help by friends and relatives who want to make their birthday party, bridal shower, baby shower, wedding, etc. something special but have no idea where to begin. They usually end the request with the fact that they don’t have a whole lot of money to spend.

The media and design gurus of today constantly tell people that they do not need to pay a professional to design their parties, that they can do the work themselves at home. While this is in many cases true and in many cases provides wonderful results, in many more cases people end up with exactly what was promised– homemade-looking centerpieces and decorations. My goal for PartyPlotz is to provide people with the ideas and instructions that allow them to create events that look ‘as if’ a professional designer were involved.

I often tell people that nothing I do is difficult. I envy people who can draw, paint, and sculpt. I can do none of these. My true talent is the ability to look at something and figure out how to make it (or something that looks convincingly like it) and usually out of stuff that is lying around my studio or available at the local dollar store. If you can use a scissors, a paintbrush and a wire cutter, I can teach you to do what I do.

The one thing I want to mention in closing is TIME. People often wonder why hand-made items are so expensive when the materials they are made of are so inexpensive; for example, a beautiful sculpture may be made out of nothing but paper and glue. Artists, like everyone else, are paid for the materials used in their product, their talent and their time. Making one centerpiece is going to involve some time. Making it look great is going to involve more time. Making the next 10 centerpieces is going to involve 10x more time or a lot of willing friends. If you don’t have one or the other, you might want to think about hiring someone.

As I progress with this new blog, I will be posting ideas for specific projects and tips on making your event a success. Right now, I would like to leave you with some pictures from my portfolio. Please enjoy and let me know what you think!

Beach Bridal Shower Centerpiece


Flapper Designed for Roaring Twenties Gala

More Flappers Dressed for Dinner

4 Ft. Monopoly Board Centerpiece


Tuxedo centerpiece

Paper Flower Centerpiece in Paper Bag Basket

Stuffe jean centerpiece

Stuffed Jeans Centerpiece for 60's party

Wizard Figure for Medieval Dinner

Lobby Arrangement for Music Themed Dinner

Decorated Mantle and Tree for Christmas Party

Castle centerpiece

Castle Buffet Centerpiece for Medieval Party

Centerpiece for Graduating Teacher

Seashell Centerpiece

Ben Franklin Figure for Science Fair